


Aluminum Roofing Sheets in Coastal Projects: What Prevents Early Failure
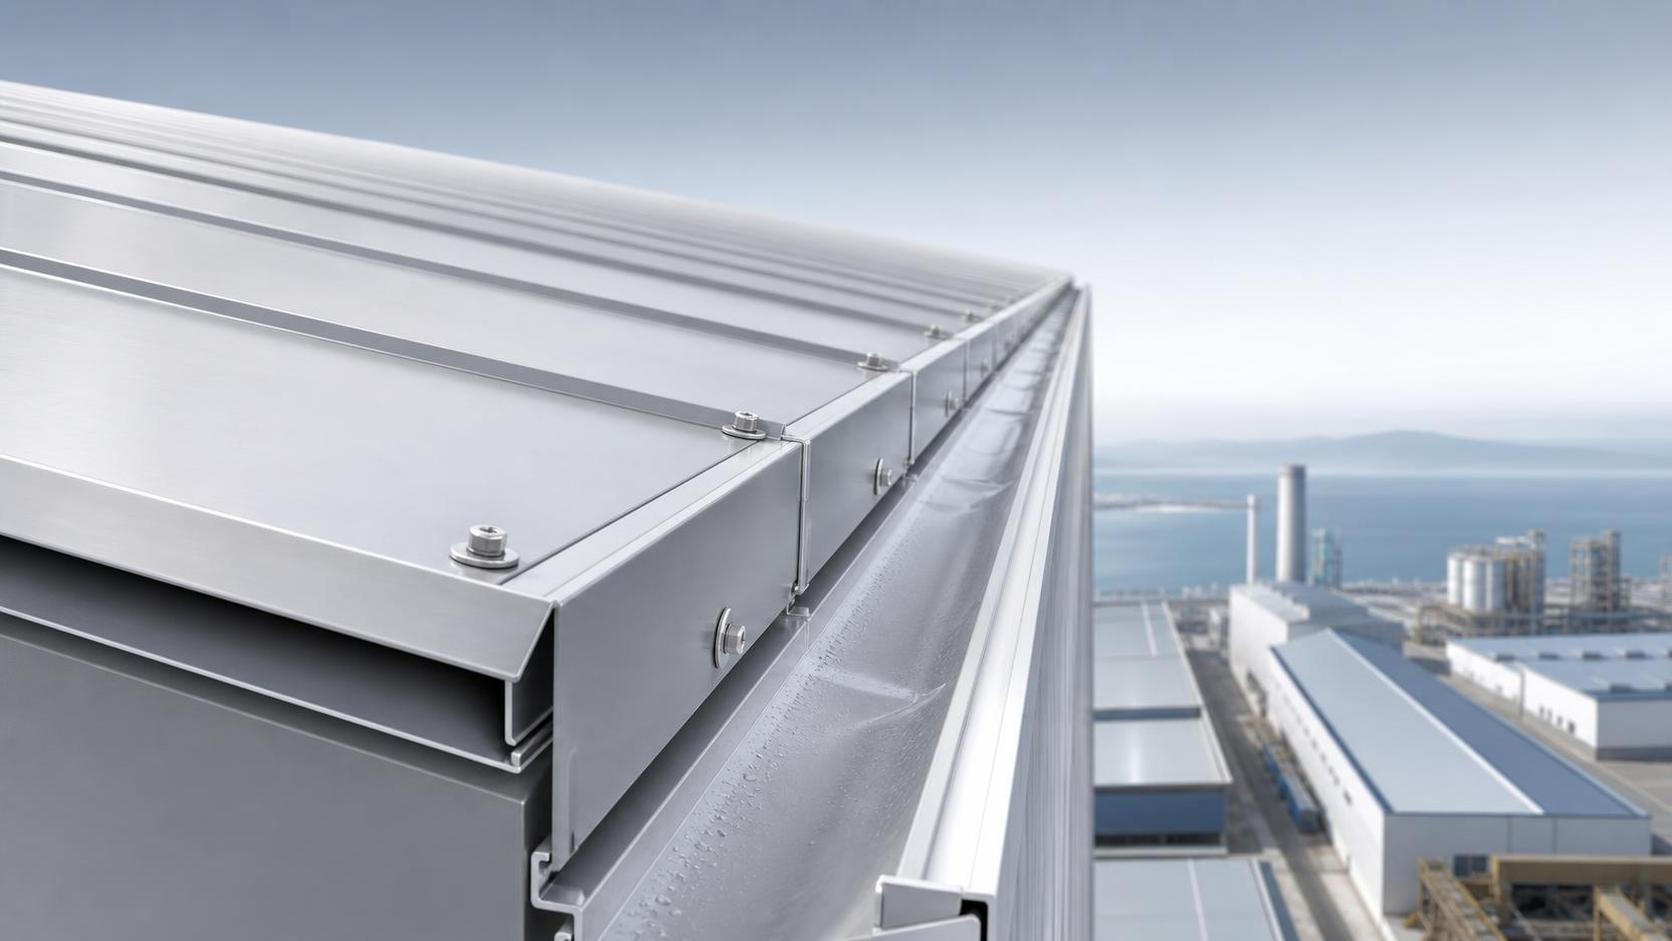
Start with the failure pattern, not the material label
In coastal work, aluminum roofing sheets usually do not fail all at once. The roof gives warnings first: white corrosion products near cut edges, dark staining around fasteners, paint chalking that turns into bare spots, or small leaks that only appear after wind-driven rain. For after-sales maintenance teams, the useful question is not whether aluminum is “good” for the coast. It is where the system is losing protection earlier than expected.
Salt spray, constant humidity, and trapped moisture push even small installation or maintenance errors into bigger problems. If you are called in after handover, run the checks below in order. They help separate cosmetic weathering from the conditions that actually lead to early failure.
Check the contact points first
A lot of premature damage on aluminum roofing sheets starts where different metals meet. Fasteners, clips, flashing pieces, support members, gutters, and repair patches are the first places to inspect. In a marine environment, galvanic corrosion moves fast when saltwater becomes the electrolyte.
- Look for direct contact between aluminum sheets and carbon steel, copper, or poorly isolated stainless components.
- Check whether washers, seal strips, or coating barriers are still in place at joints.
- If corrosion is strongest around one connector type, that is usually more meaningful than general surface fading.
One common mistake is replacing failed hardware with whatever is available on site. A quick repair can create a mixed-metal point that becomes the next failure source. When you document a claim, photograph every transition: sheet to fastener, sheet to flashing, sheet to support.
Do not overlook cut edges and field modifications
Factory-coated surfaces usually age better than areas cut, drilled, or abraded during installation. In coastal projects, exposed edges stay wet longer, collect salt, and often corrode before the main panel face shows much change.
Check ridge caps, penetrations, end laps, and any panel trimmed around equipment bases. If the damage is localized around site cuts, the issue is often edge protection, debris left on the roof, or poor touch-up practice rather than a general sheet defect.
Metal filings are another routine problem. After drilling or cutting, small particles can rust or react on the roof surface and stain the panel, especially where water sits. Maintenance teams should remove them during inspection instead of treating them as harmless dirt.
Watch the water path, because standing moisture changes everything
Salt in the air is a constant, but early failure usually needs one more condition: water that cannot leave the roof quickly. Low spots, blocked drainage lines, compressed insulation under supports, and sealant ridges that trap water all accelerate coating breakdown and underside corrosion.
When you inspect, do not only look at the stained panel. Follow the path uphill and downhill. Ask where water enters, where it slows, and where it dries last. Panels near parapets, valleys, roof curbs, and equipment rails deserve extra attention because salt deposits stay there longer.
Separate coating failure from substrate failure
Not every faded or chalked roof is close to structural failure. Coastal exposure can age the finish before the sheet loses real serviceability. Your job is to tell the difference. If coating damage is broad but shallow, and the panel thickness and fixings remain sound, the solution may be cleaning, local treatment, and a recoating plan. If pitting, perforation, or edge loss is already active, patching the surface alone will not hold for long.
This is where maintenance reports often go wrong. They focus on appearance because it is easy to photograph, then miss the smaller areas where the roof is actually losing section or looseness around fasteners.
Review the original roof build-up around the aluminum sheet
An aluminum roof panel does not work alone. Underlayment choice, insulation condition, vapor control, and the supporting members all affect how much moisture stays in the assembly. If the underside shows corrosion or staining, inspect from below as well. Warm, humid interior air moving into a cooler roof cavity can create long-term condensation, especially in coastal industrial buildings.
Where mixed systems are used, maintenance teams should also review adjacent materials. In some projects, secondary components such as Galvanized sheets are used for flashings, support trims, corrugated infill, or enclosure details. If those parts are present, check grade markings, coating condition, and whether the zinc-coated steel is isolated from the aluminum at contact edges. Specifications such as SGCC, DX51D, or S350GD, along with coating ranges like z30g-z275g /m2, matter only if they match the actual location and exposure of the part you are inspecting.
Pay attention to cleaning practices and repair materials
Some roofs fail early because the wrong maintenance routine is used after installation. Aggressive cleaners, abrasive pads, and incompatible sealants can strip protection faster than weather does. If a roof has been washed repeatedly, ask what was used and where. The answer often explains why one elevation looks much worse than another.
- Check for hardened sealants that have cracked away from the panel.
- Look for repair tapes trapping moisture under their edges.
- Review whether touch-up coatings were applied over salt residue or loose oxidation.
If repairs are already layered on top of older repairs, remove a small representative area before proposing another surface fix. Otherwise you are only covering the symptom.
Use the project documents to narrow the cause
For coastal roofs, a maintenance inspection gets more reliable when you compare field findings against the actual submittals. Pull the panel specification, coating system description, fastener schedule, and accessory list. Do not rely on memory or on what “usually gets used.” Early failure often comes from substitutions made during procurement or site repair.
If a galvanized accessory is part of the assembly, check whether its documentation references common standards such as ASTM, AISI, DIN, GB, EN, or JIS, and whether the thickness, width, surface treatment, and hardness listed for that item fit the installed use. That does not prove performance by itself, but it helps you see whether the wrong accessory was introduced into a marine exposure zone.
What usually prevents early failure
The roofs that last near the coast usually have the same habits behind them: compatible metals, good drainage, protected cut edges, controlled site modifications, and maintenance that does not damage the finish. For after-sales teams, the practical sequence is simple. Inspect contact points, trace water movement, open up the suspect details, compare what is installed to the project documents, and only then decide whether the fix is local repair, component replacement, or a broader refurbishment.
That order saves time and reduces repeat call-backs. More importantly, it keeps you from treating a corrosion pattern on the surface while the real failure mechanism keeps working underneath.
Leave A Message
If you are interested in our products and want to know more details, please leave a message here, we will reply you as soon as we can.